Ready to wear your art literally on your sleeve? Crafting your own custom graphic tees at home is the perfect blend of DIY fun and fashion flair. Whether you're channeling your inner artist or just trying to make clothes as unique as your playlist, here's how to make designer t-shirts that scream 'you' from every thread.
Step 1: Gather Your Gear
First things first, let’s talk tools of the trade:
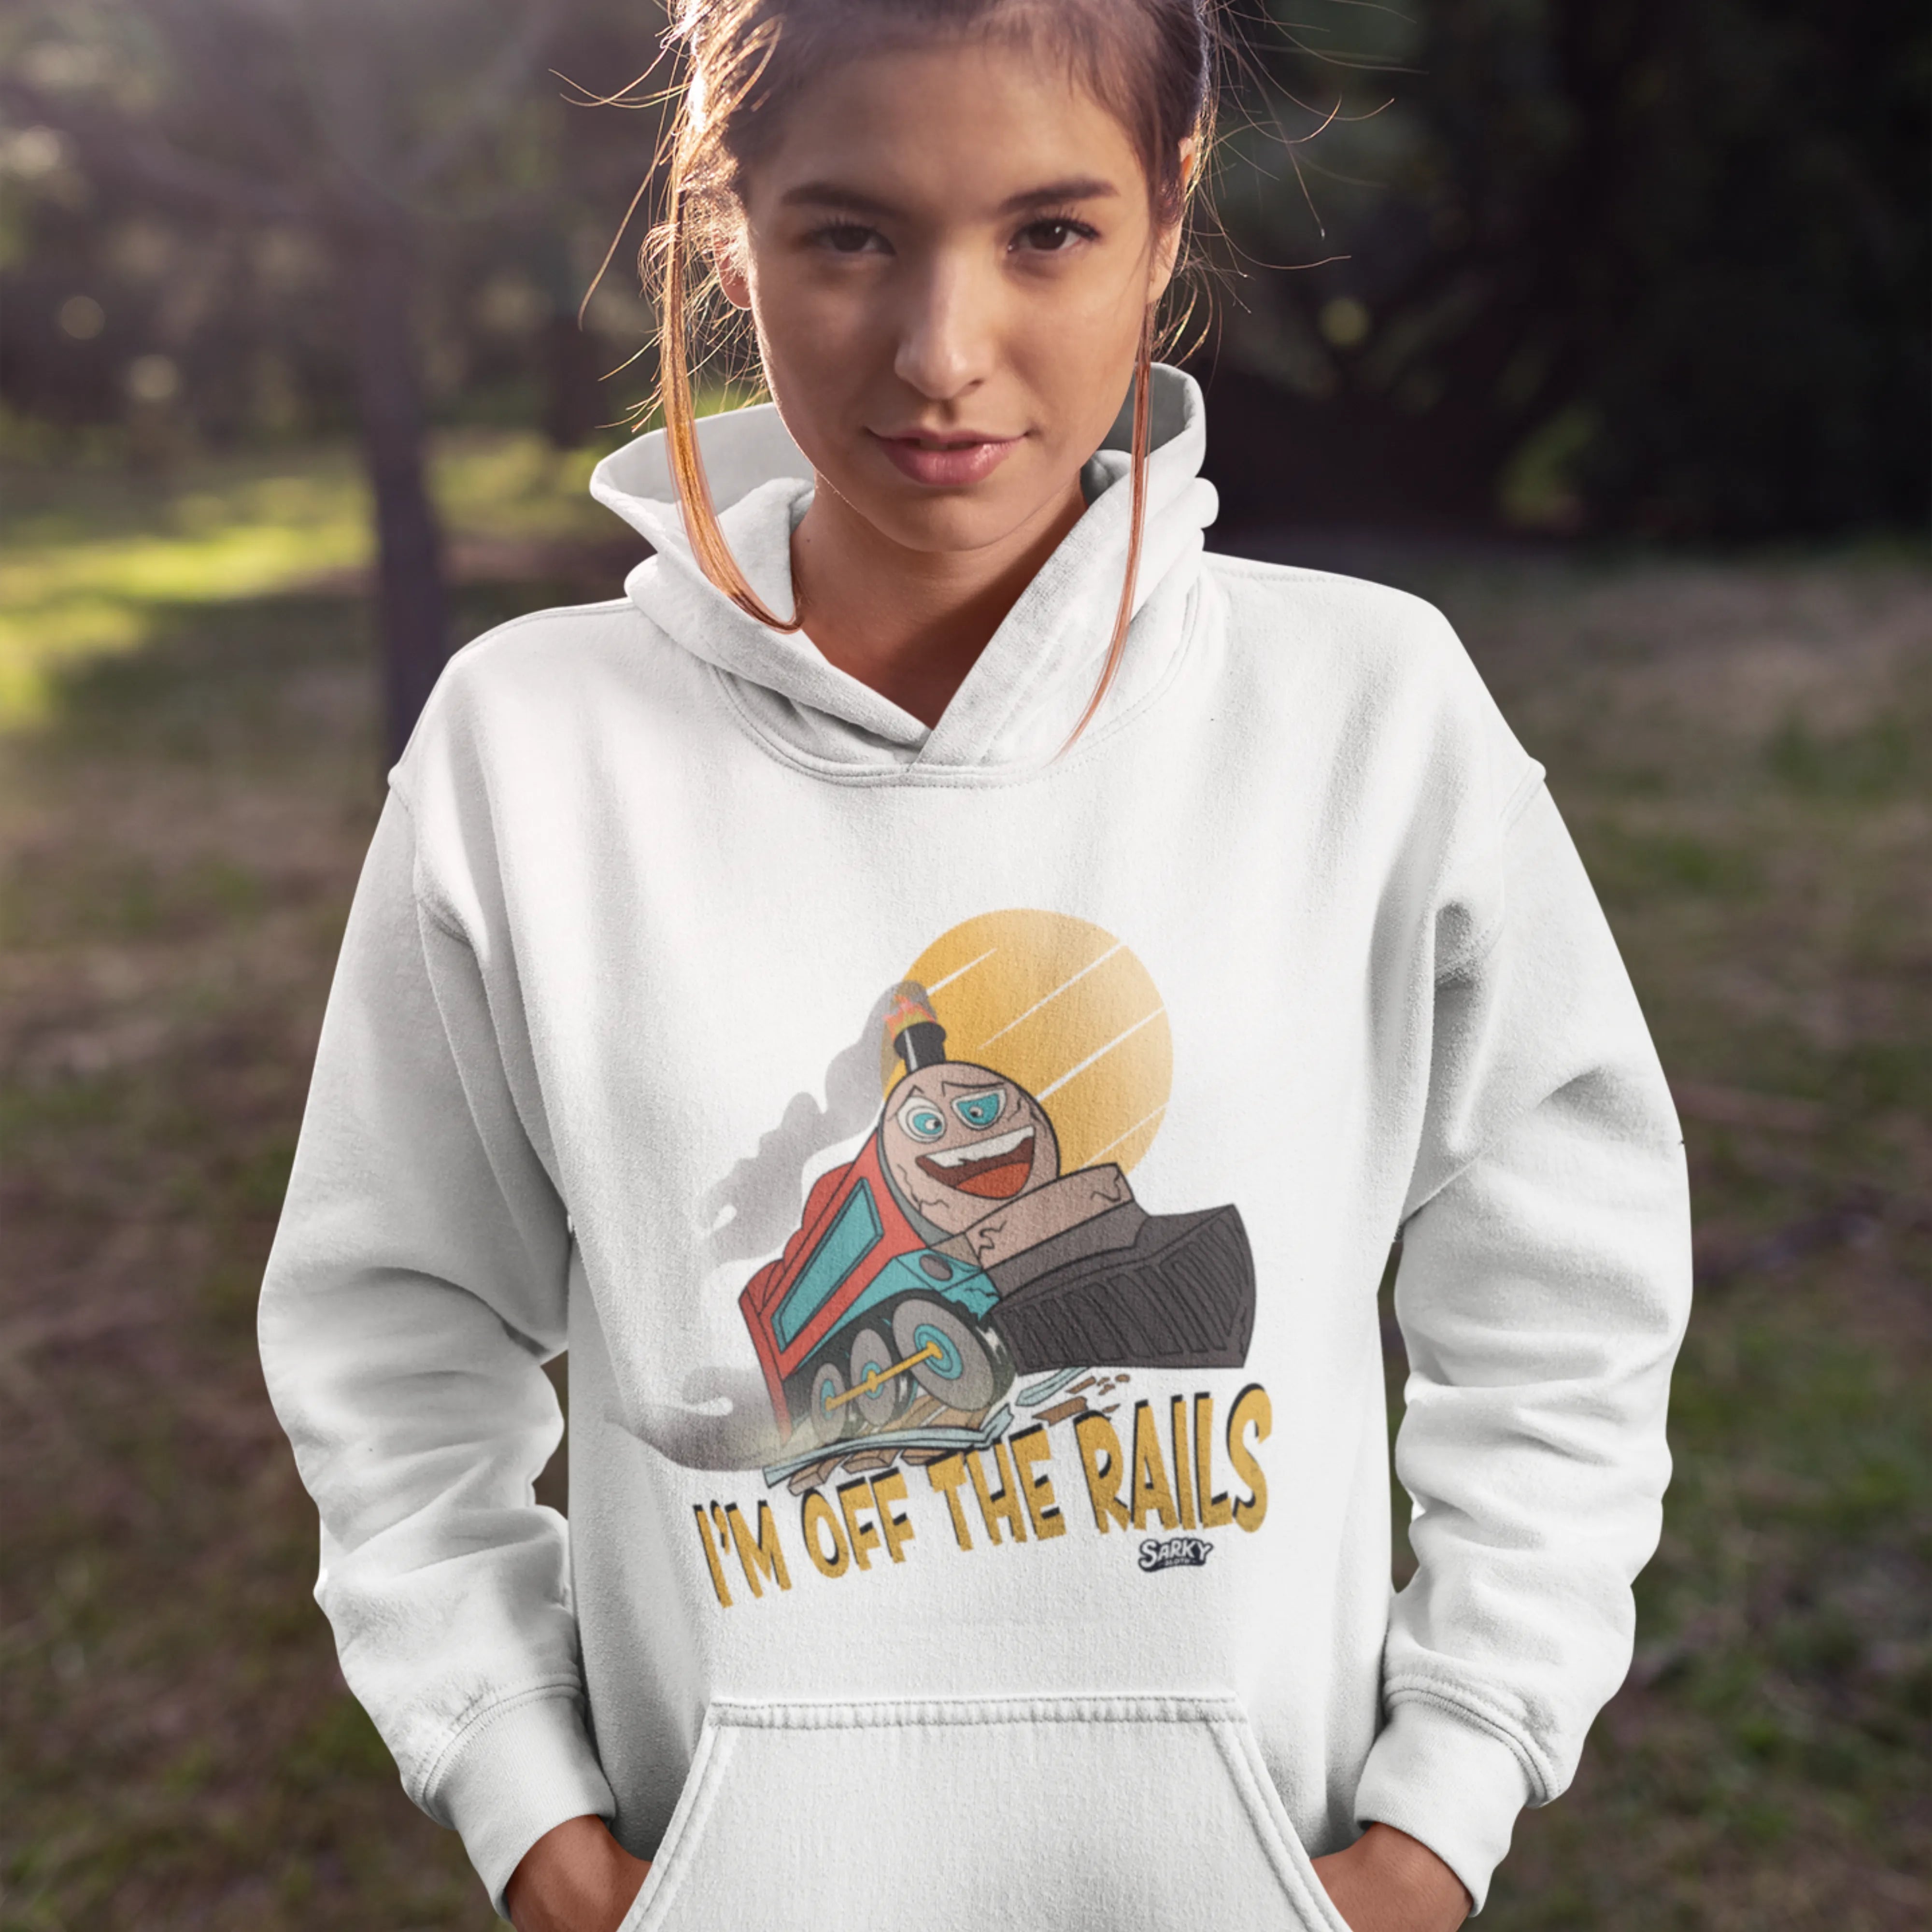
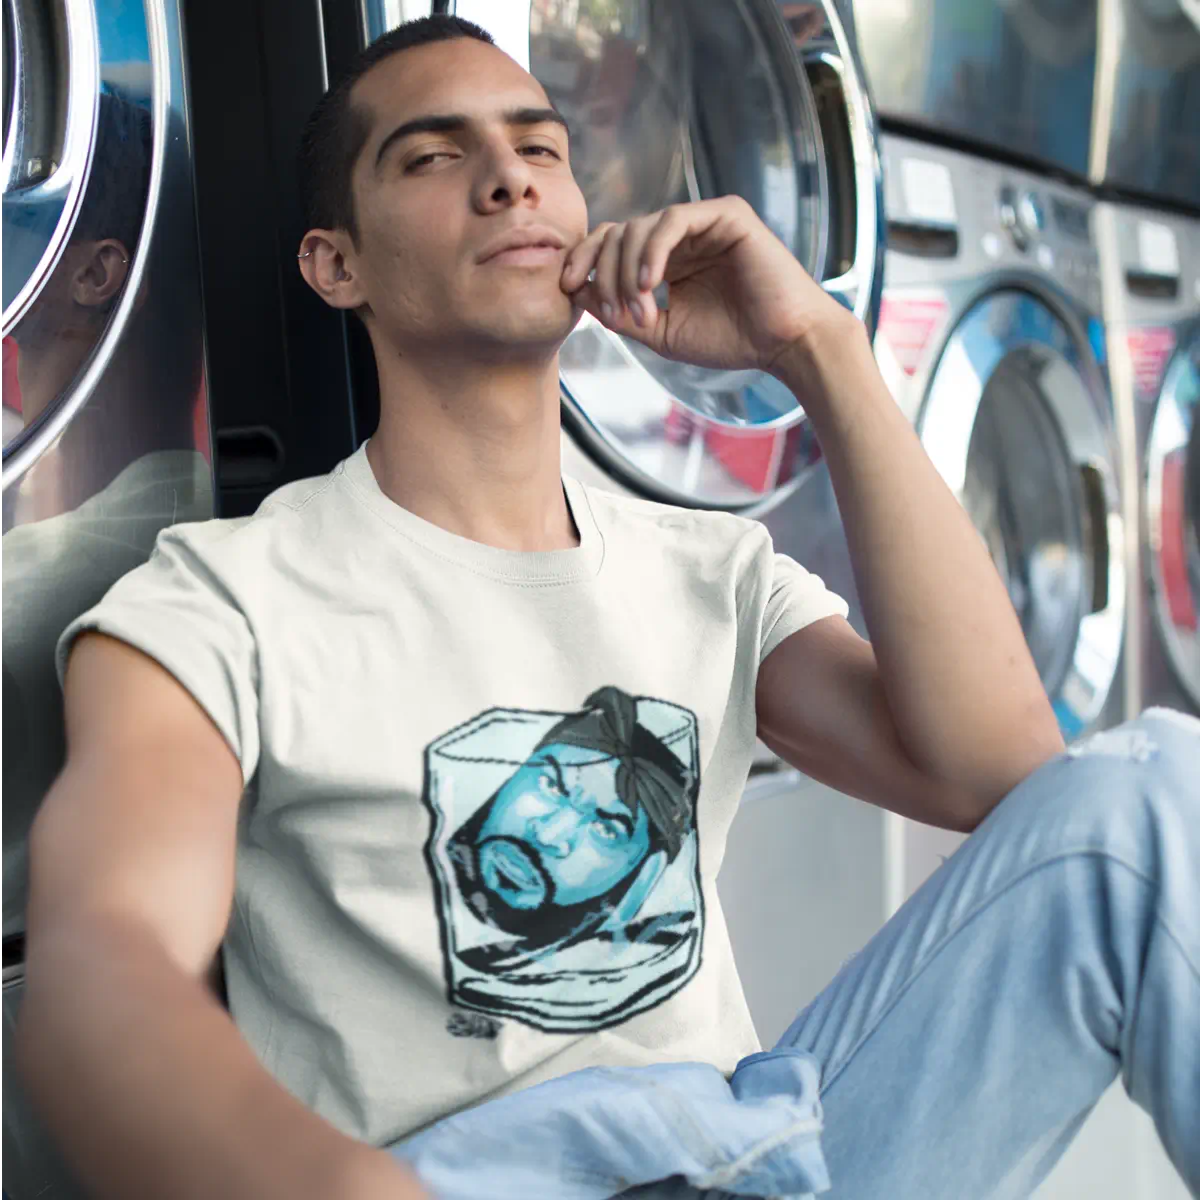
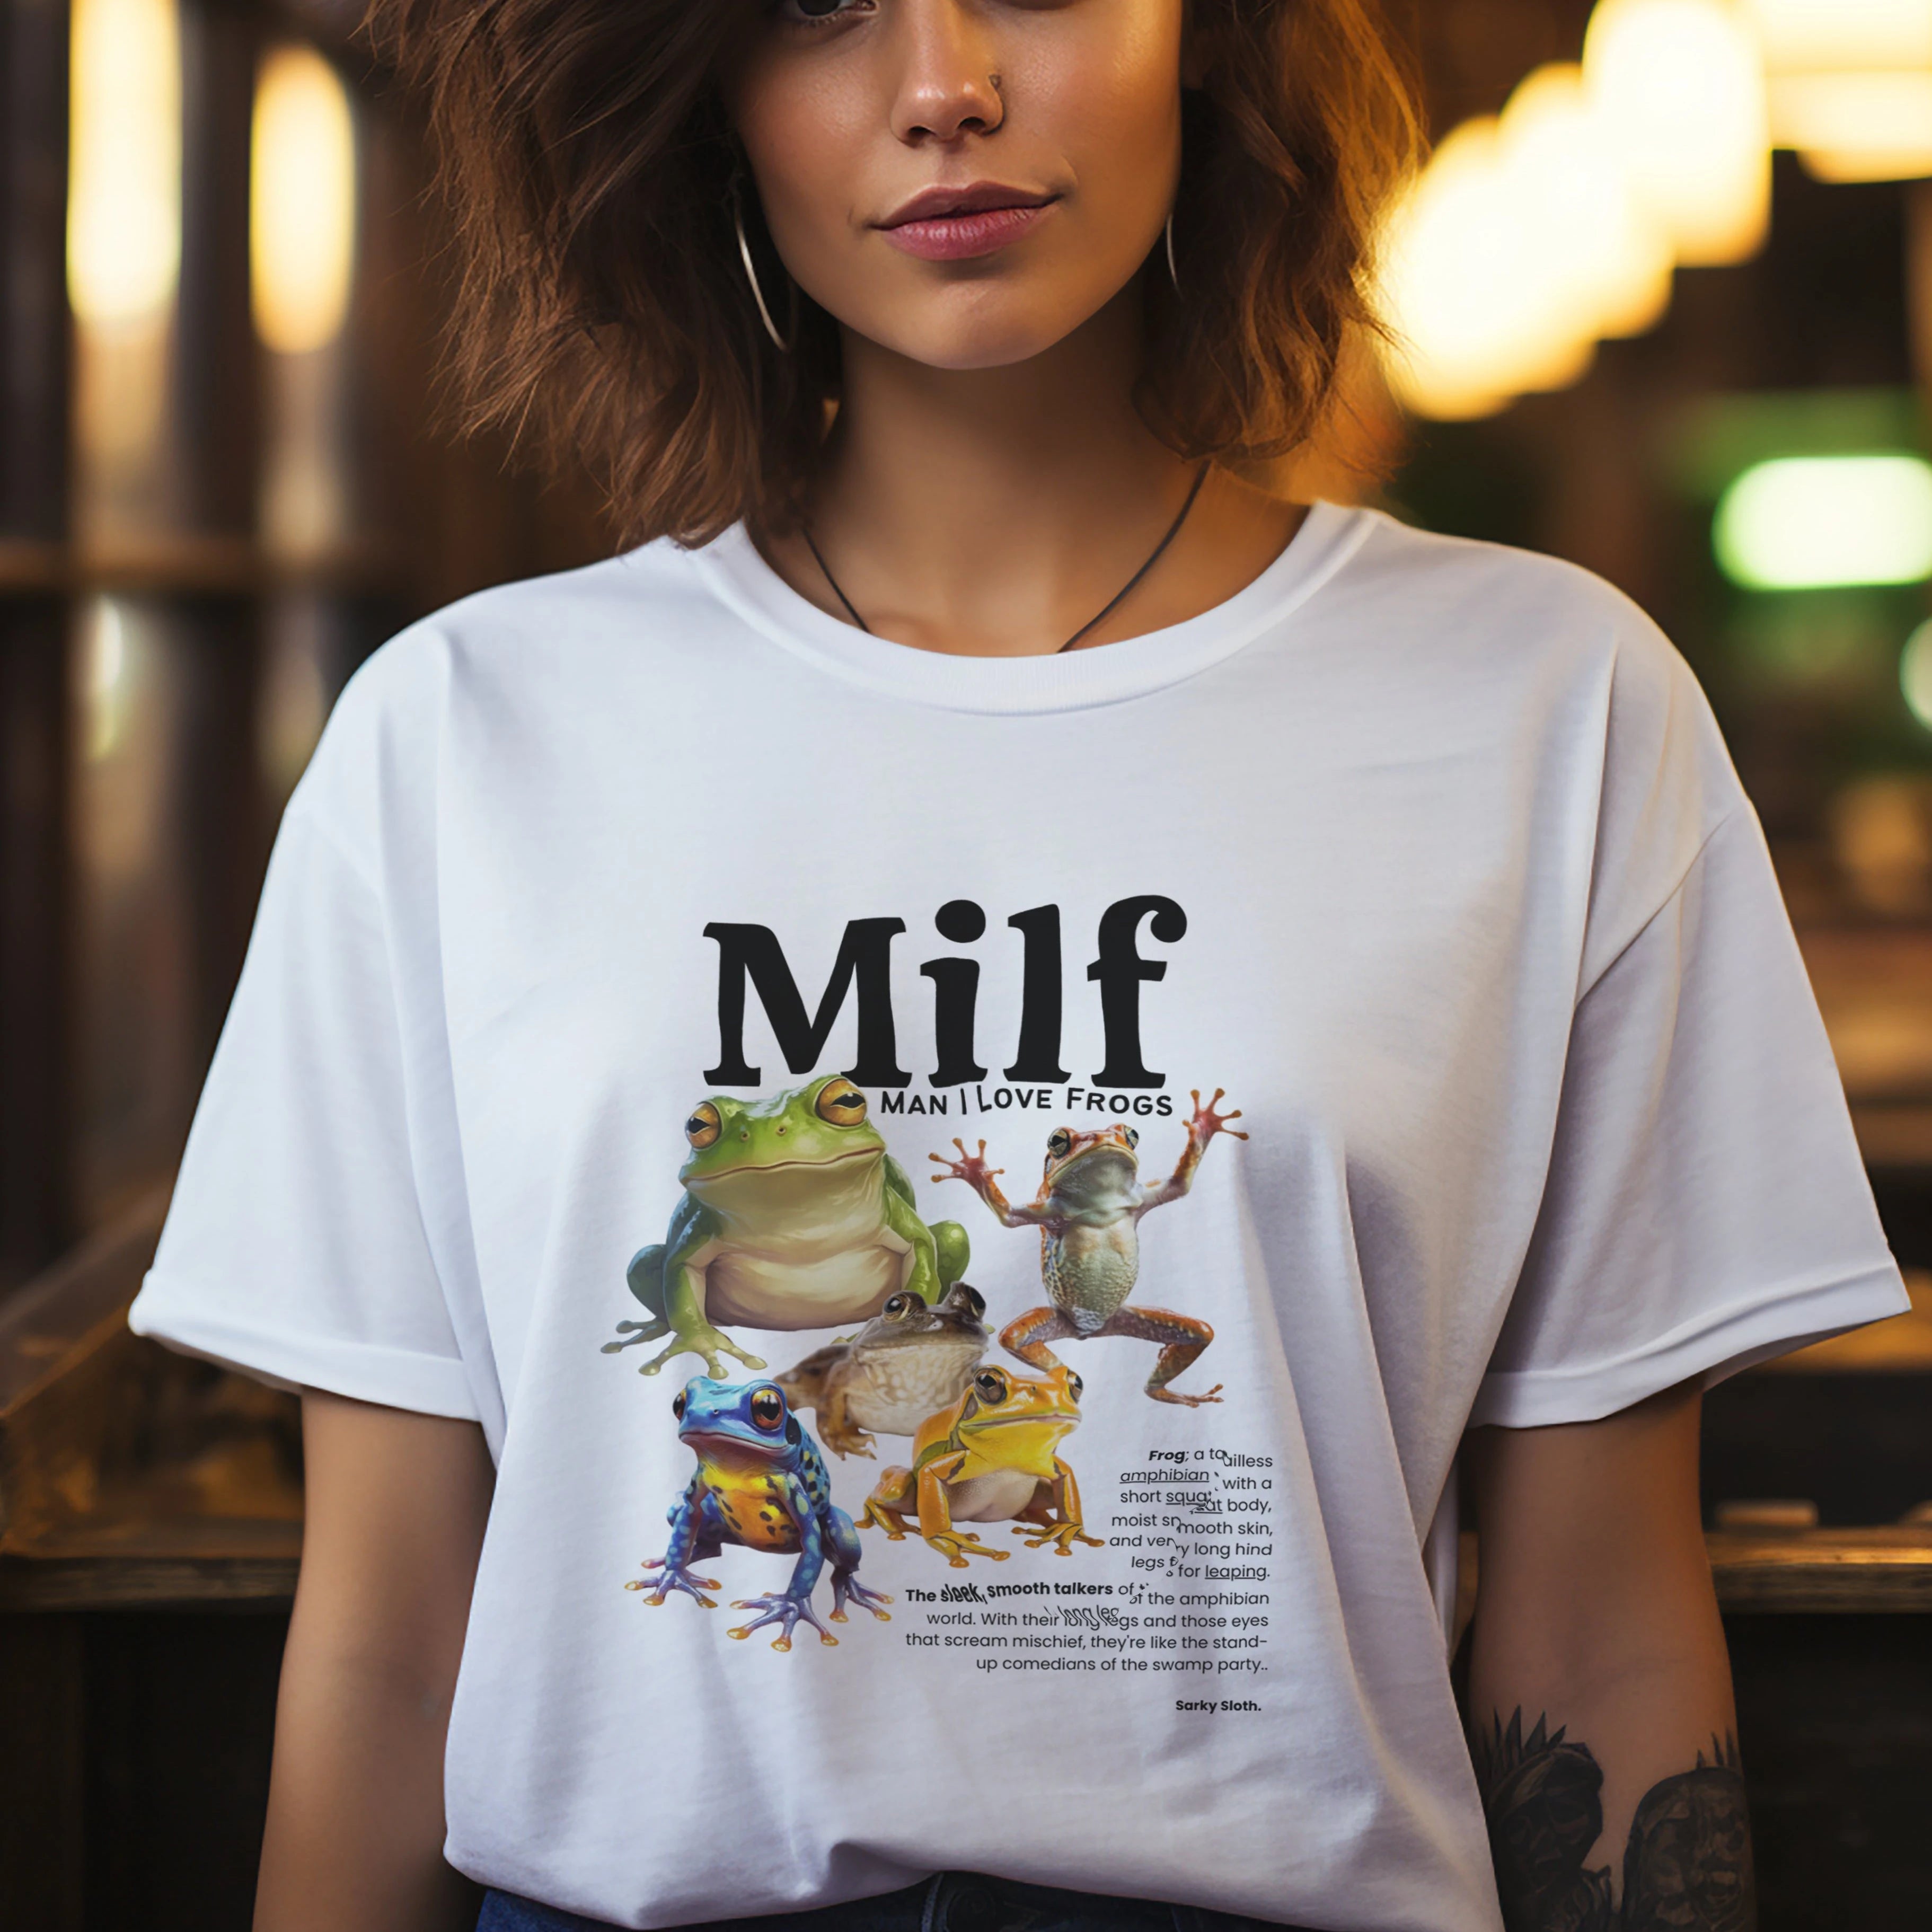
- Plain T-Shirts: Pick up some high-quality blanks. These will be your canvas, so quality matters! Go for Sarky Sloth’s stylish graphic shirts for a solid start.
- Fabric Paints or Markers: Whether you're into subtle shades or neon brights, pick your palette wisely.
- Stencils or Screens: Not all of us can freehand a masterpiece. Stencils and screens are your friends.
- Brushes and Sponges: These are your paintbrushes for the canvas of cotton.

Step 2: Design Your Masterpiece
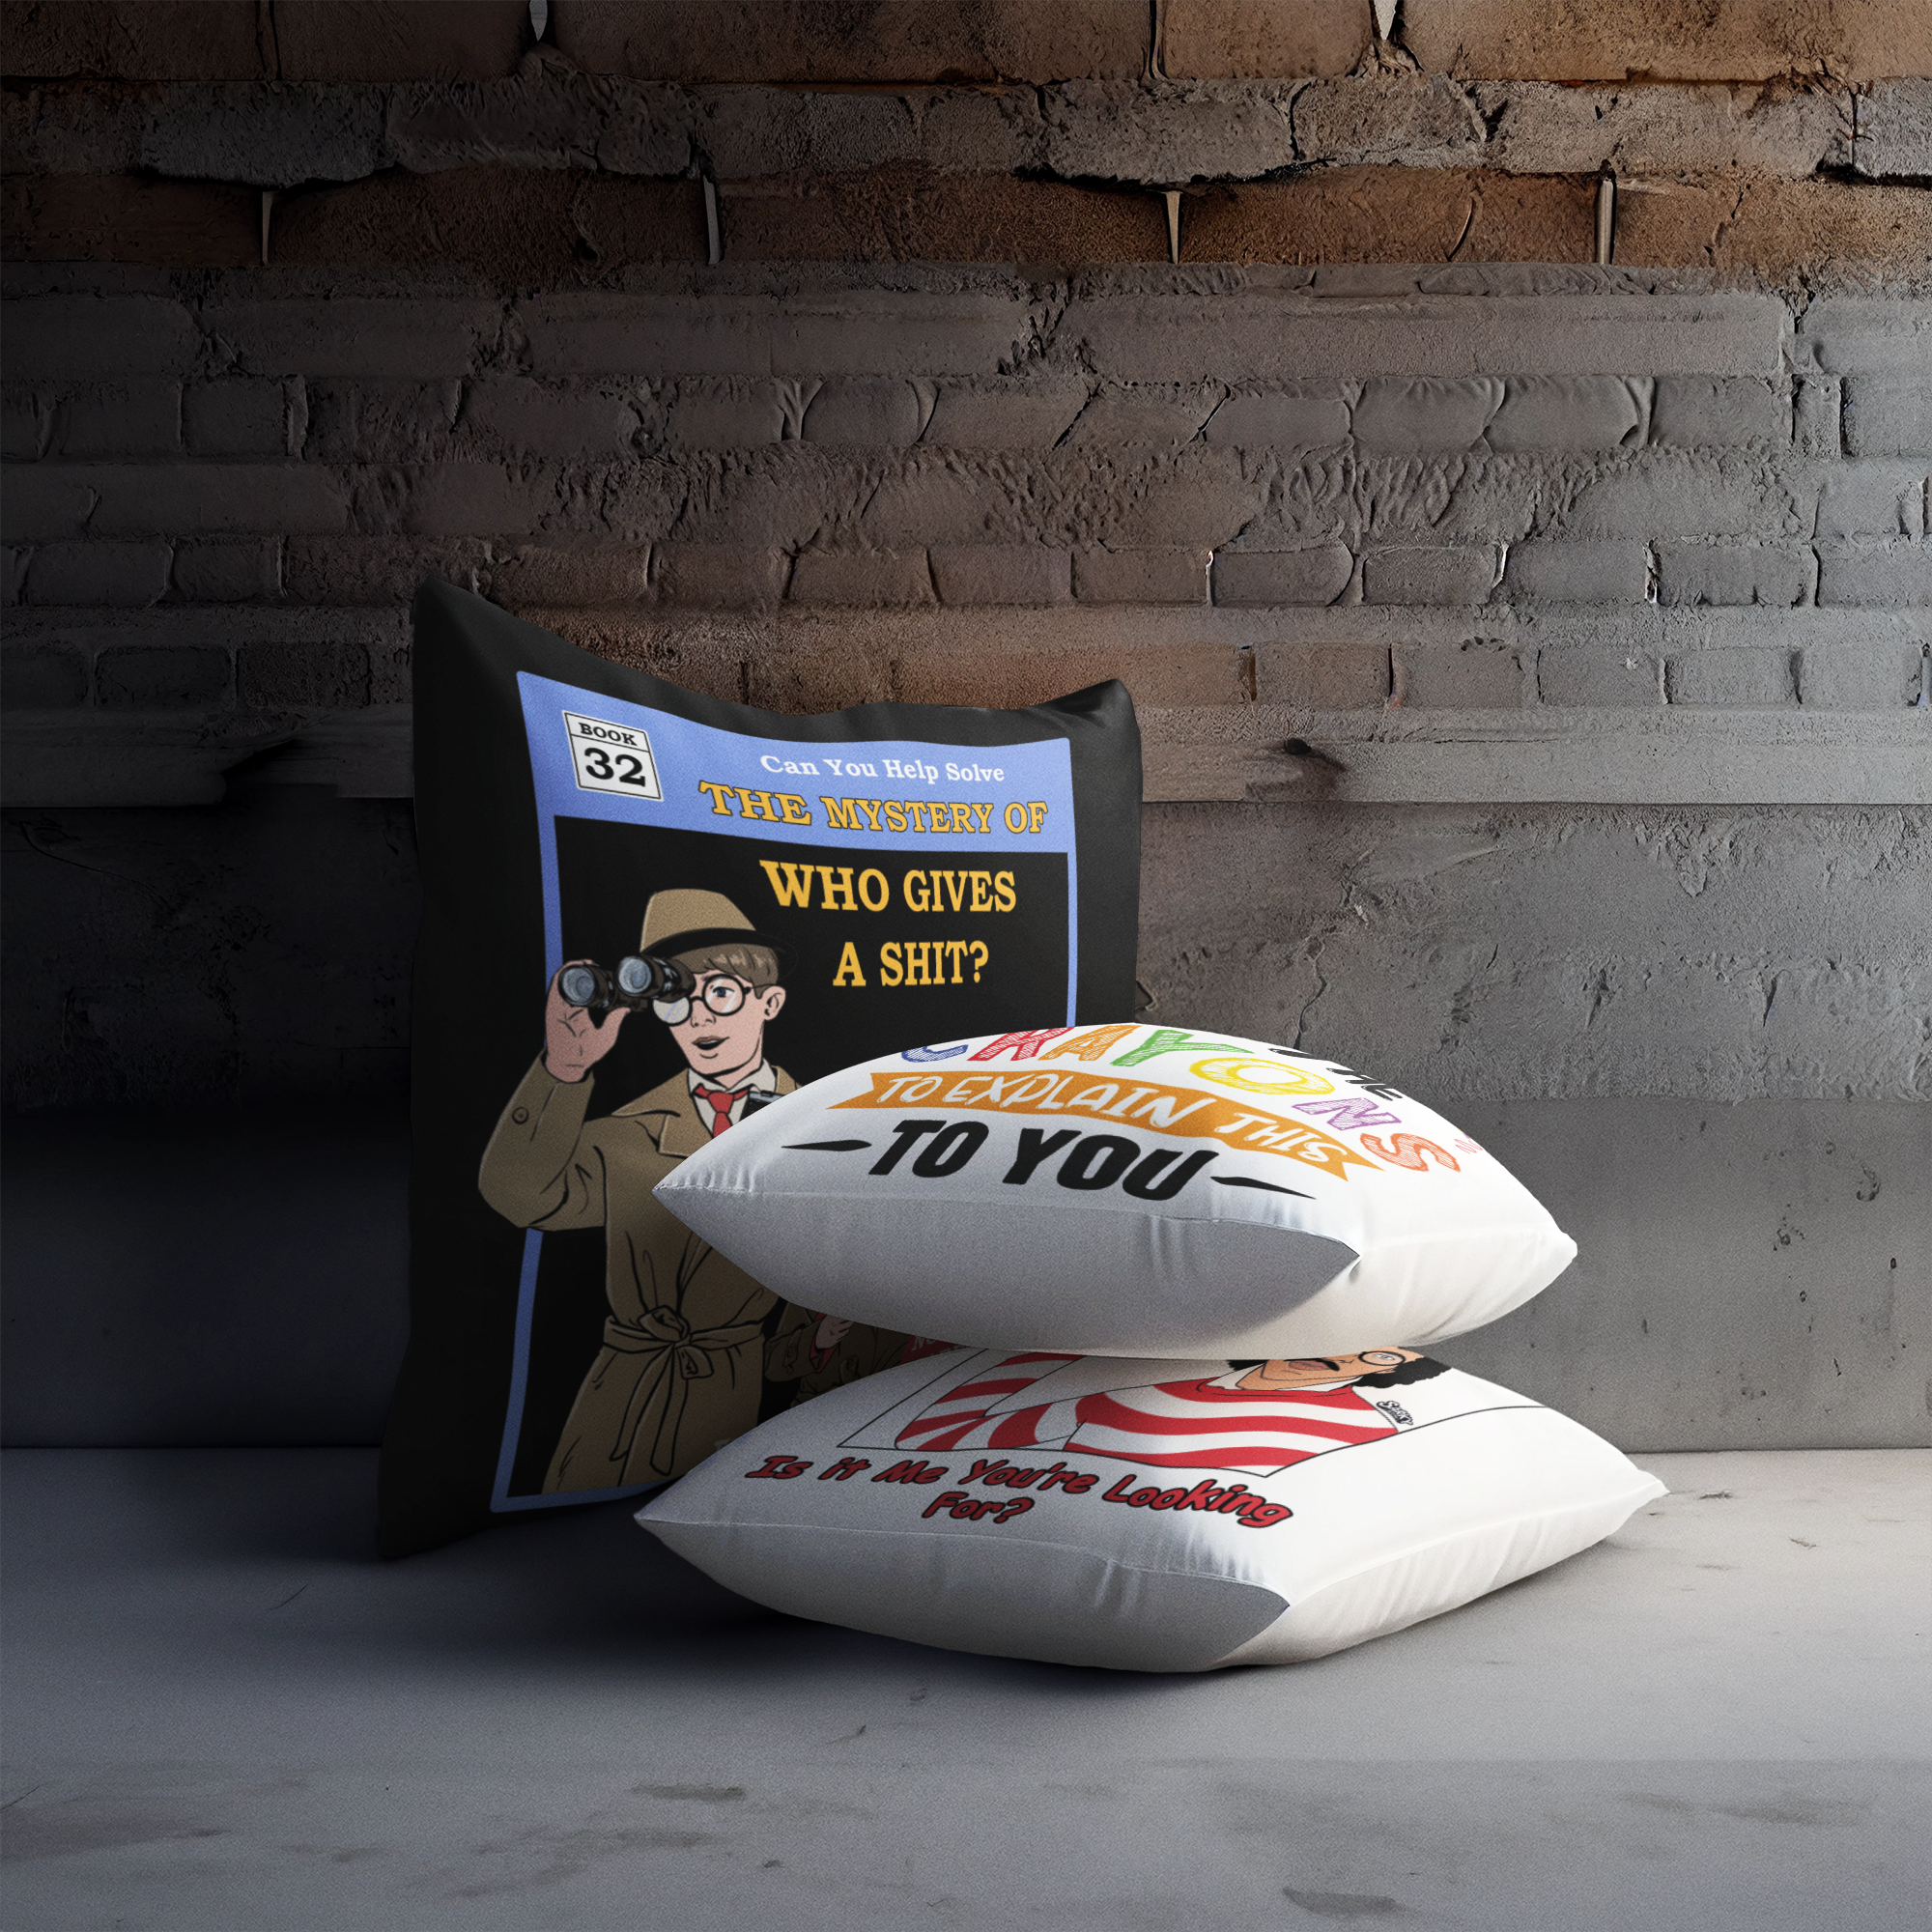
Sketch it out! Whether you're drawing inspiration from Sarky Sloth’s bold t-shirt graphics or inventing something totally new, plan your design on paper first. For the less artistically inclined, graphic design software can be your secret weapon—just print your final design onto transfer paper.
Step 3: Prep Your Space
Create a mess-friendly zone because creativity can get chaotic. Lay down newspapers or a plastic sheet, and make sure you’re in a well-ventilated area if you're using spray paints. Iron your t-shirts to eliminate any wrinkles—smooth tees make happy t-shirts.
Step 4: Apply Your Design
- Hand-Painted Perfection: Using fabric paints, bring your design to life directly on the shirt. This is great for that genuine we handcrafted look.
- Stencil Savvy: Secure your stencil onto the tee and dab your paint on with precision. This method’s great for crisp lines and poppin’ patterns.
- Iron-On Innovator: If you went digital, print your design onto transfer paper and iron that artwork right onto your tee. Voila, instant graphic tee!
Step 5: Set the Ink
Make it stick! Once your design is dry, cover it with a thin cloth and iron it on a high setting for a few minutes (keep those paint instructions handy). This step seals the deal, making your designer ready for the runway—or, you know, just your regular Tuesday.

Step 6: Show Off Your Creation
Now for the best part: wearing your new graphic tees! Pair them with your favorite jeans for a casual look or dress them up under a blazer for a touch of unexpected chic. Every tee tells a story, and yours say, "Look what I made!"
Conclusion
Creating custom designer tees at home is about expressing yourself, having fun, and maybe even impressing your friends. With a little help from Sarky Sloth, you're not just making clothes; you're making personal statements. So, grab your tools, get inspired, and transform those plain t-shirts into expressions of your unique style. Happy crafting!







Leave a comment
All comments are moderated before being published.
This site is protected by hCaptcha and the hCaptcha Privacy Policy and Terms of Service apply.